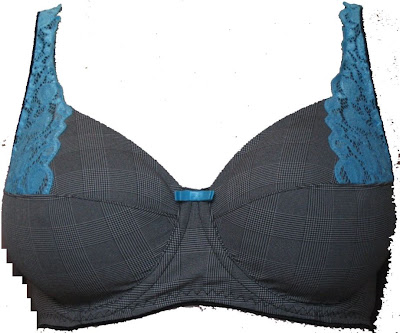
The downside of using an interfacing: risk of shifting layers with pleats as result. This is what happened in the center of this bra that I made a couple of years ago, look at the bottom of the bridge:
Depending on the result I want or the pattern piece I use an interfacing which has no stretch at all or that has a little stretch (but less than the lycra).
The bridge is always interfaced with an interfacing without stretch, for cups I often use an interfacing with a little stretch.
When I started making bra’s I used a fusible interfacing for the under cups. This was a special interfacing that I can’t find easily any more, so most of the time I use this method for the undercups.
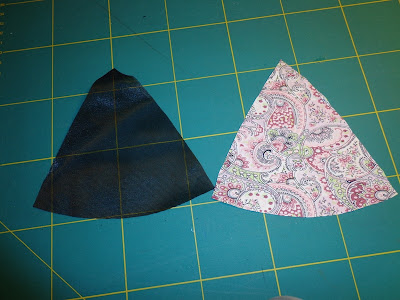
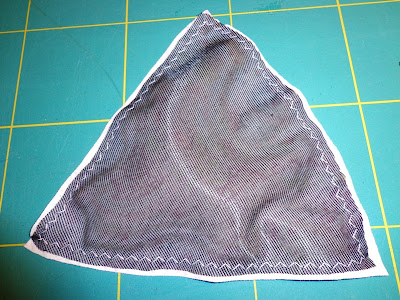
For demonstration purpose I used a black, non stretch interfacing in this post. Cut the pattern pieces in both interfacing and lycra, with seam allowances.
I’ve pinned the two layers together to show both pieces are the same size.
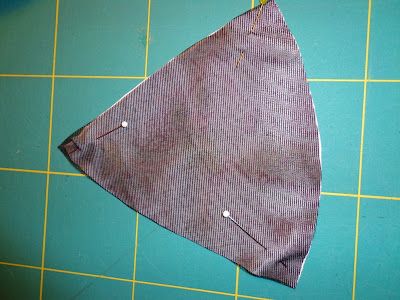
Stretch and pin the lycra a few millimeters on each side over the interfacing piece. It depends on the amount of stretch how munch you do this. With this thin lycra it was 2 to 3 millimeters on all sides.

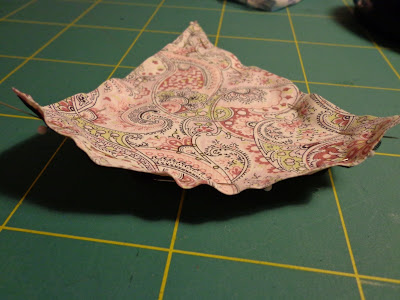
When you lay it on a flat surface, the lycra will pull on the interfacing and it will not lay flat.
Stitch the layers together using a zigzag or straight stitch! Stitch within the seams allowance
Cut off the edge of the lycra.

The pattern piece has its original size again but looks a bit weird. It’s no problem at all to work with though.

When sewn together and worn, the lycra will lay smoothly over the interfacing without any pleats.

No comments:
Post a Comment
Lovely to hear from you. If you have any thoughts or suggestions, please let me know.